A Headless Body Production
Location: Lancaster Host Convention Center
Event: Cold Wars 2108
Venue: L'Art de la Guerre 25mm Team Event, Round 2.
Players: Phil Gardocki, Steve Turn, List 241, Medieval Polish
The Teutonic Taunters of Team Tobin, List 209
Game: L'Art de la Guerre,300 pointsDescription: A battle report between Poles and the Teutonic Order
Polish forces:
The Forces:
7 Winged Hussars, Heavy Knight impetuous, mostly elite
6 Medium Cavalry Crossbow
4 Lithuanians, Light Cavalry, Javelin
4 Tartars, Light Cavalry, Javelin. elite
2 Handgunners, Light Infantry, Firearm, elite.
2 War Wagons, Crossbow
3 1/2 Heavy Spearmen 1/2 Crossbowmen
1 Heavy Cavalry Impact
Breakpoint 30
The Teutonic Knights
Channeling the future Carl von Clausewitz, the Teutonic commander has managed to elude (or bribe) the Lithuanian and Tartar scouts. Leaving Vytautas to only guess what the days dawn will bring.
The Polish win the initiative and elect to attack in the plains.
Deployment:
 |
| On the Teutonic right flank is a command of knights and supporting troops. |
 |
| The center right command is more knights. |
 |
| The third command is mostly foot. With one odd cavalry unit. Most are missile men. I believe mediocre as well. Since it was deployed back from the rest, I think this commands purpose is to increase the breakpoint. |
 |
| A command of what looks like a mix of knights and cavalry. But I am going on memory here. |
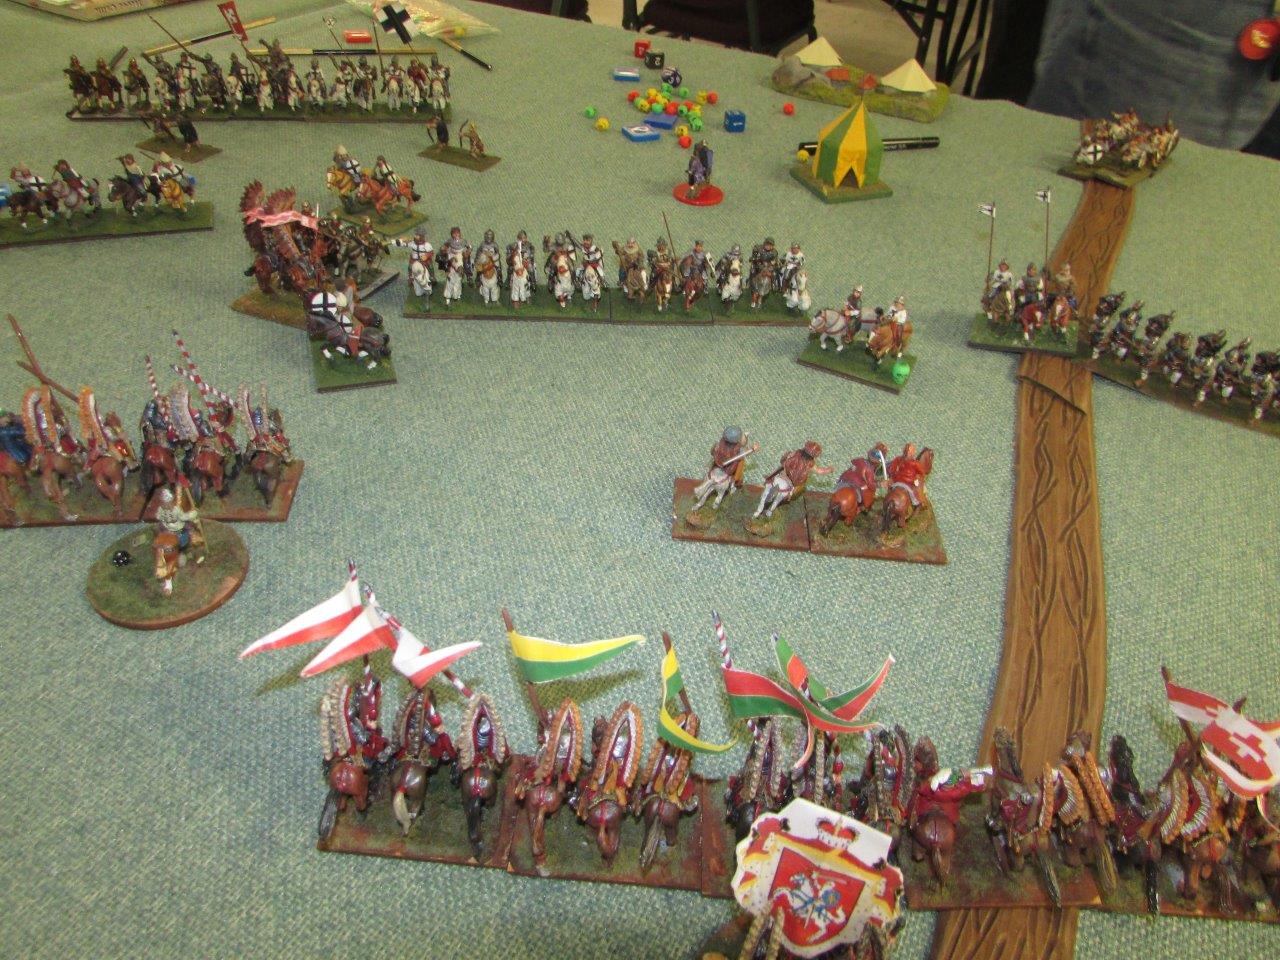
Our strategy is to have a strong right punch. Holding the left is the infantry, the most of which is in ambush in the gully and behind the hill.
 |
| A single foot unit is having a "You shall not pass!" moment. |
 |
| Our second command is referred to as a Joint command. As in at acts as a joint between the foot (Anchor) and the Sweep command. |
 |
| This is our main punch command. 5 Heavy Knights and support. |
 |
| And this is the Flank Guard command. Lots of shooty missile cavalry. |
Turn 1:
 |
| I think this element is going to have a good game. |
 |
| An ambush is revealed, two War-wagons and two foot units of 1/2 spear 1/2 crossbow. On a hill. |
 |
| The Lithuanians see 2-1, and go for it. |
The Pole's see an opportunity to defeat the Teut's in detail. Vytautas leads his troops into the second command of the Teutons. The Teutonic infantry is recessed, and seems to be mediocre troops, and probably will not come forward to fight, and the left most Teutonic Knights may not get into the fight in time.
 |
| The Lithuanian's bravado is well deserved. Behind them is 7 Winged Hussars. |
 |
| The Flank Guard command approaches, but stays out of missile reach. |
 |
| Karaim is wider and has lots of lights. |
 |
| The Teutonic Knights wheel to meet the Pole's. The Lithuanians confidence was misplaced, as a Turcopole manages to get behind them, preventing one from evading. |
 |
| The Teutons advance on all fronts. |
 |
| Mediocre or not. It's a lot of missiles darkening the skies. |
 |
| Including that line of mediocre infantry. |
 |
| But the Teutonic left most command does not advance. |
Turn 2:
Both sides are decided to come out and play and meet in the center of the board.
 |
| Luck blesses idiots and drunks. The Lithuanians, though caught, are actually winning their fight. |
 |
| But it wasn't going to last, as they lose on round 2. And while the Teutonic Knights may take a while to to the fight, their lights are already there. |
 |
| Josef and Vytautas set up a hammer and anvil attack. |
 |
| While the supporting Polish cavalry is sent forward to shoot it out. And come off worse for the exchange. |
 |
| Lots of targets, but no hits. |
 |
| First blood. One Lithuanian is caught and destroyed. But now the Tucopoles are in missile range of the Crossbowmen on the hill. |
 |
| More horsemen are scattered. On the left, a Turcopole is caught by a Hussar. On the right, the only Heavy Cavalry unit in the Polish army is dispersed by Teuton Crossbow. |
 |
| Teuton cavalry charge, and Polish mounted evade. The Teutons follow up by bringing forward their bowmen. One Polish unit was left behind, to delay the Teuton advance and give the Poles a chance to recover their order. |
 |
| Tartar and Lithuanians also evade in the face of (1) Medium Cavalry. |
Turn 3:
Time to go for it!
 |
| The line of foot crossbow engage the Teuton right flank. Their shots are inaccurate and no harm was caused. |
 |
| So why did that one Hussar get placed where he did? It was to keep a Light Horse from squirting through the line and into the rear. And it avoids the rout path of the Lithuanians when they break. |
 |
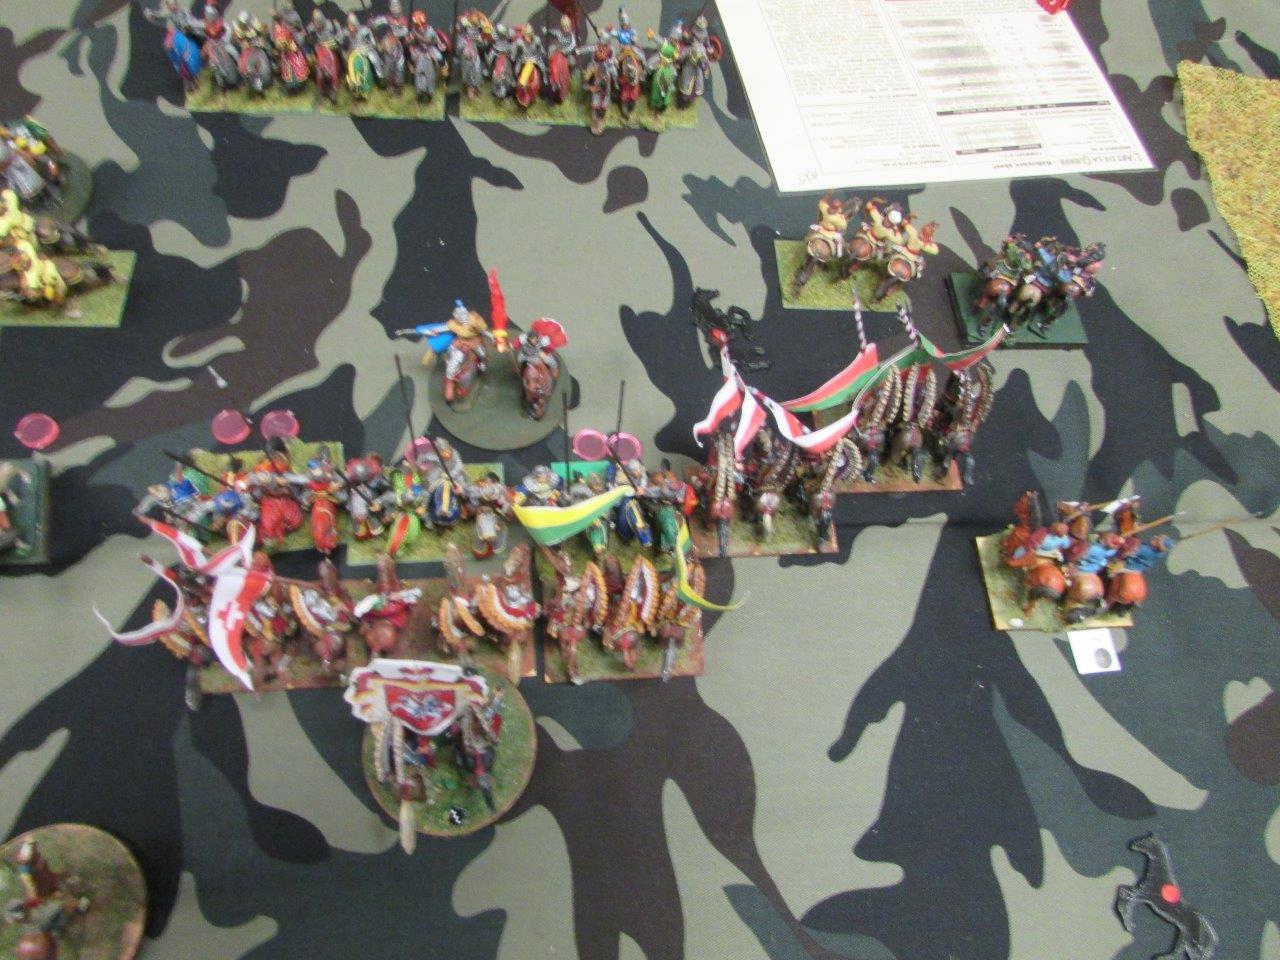
| With a thunderous roar, lances drop, and the Knights Pointa Z Lanca, Żółty i Zielony and Zielony I Czerwony charge the Teutonic orders center. |
 |
| The Knights Order Krzyża charges on the right. Vastly outnumbered, they are relying on quality and armor to stay alive and keep the center attack safe from interference. A unit of Tartar Light Horse also find a flank and charge! |
 |
| Now is not the time for timidity. The flank guard turns to face their foes. On the far right, realizing they are facing knights, a unit of mounted crossbow breaks off contact and lives for another day. |
 |
| Tartar arrows finally find a target and score. |
 |
| Tucopoles ignore all the crossbows on their flank and score a missile hit on a Winged Hussar. |
 |
| The main charge of the Poles has faltered, hits begin to mount. |
 |
| More charges and fleeing on the right. |
The Poles have 15 points towards their breakpoint of 30.
The Teutons have 10 points towards their breakpoint of 33.
Turn 4:
For an army that has as many shooters as the Poles do, they are not getting much out of them.
 |
| A string of victories for the Poles. The Crossbowmen have scored two hits on a Teutonic Knight. The Lithuanian Light Horse, engaged since turn 2 with a Knight, and with a Turcopole in the rear, pulls an unbelievable string of lucky dice, and routs the knight! |
 |
| This leads quickly down the line with 3 more Teuton Knights run down by Winged Hussars. |
 |
| One of the flank guard Winged Hussar holds against 2-1 odds, but the Knight Order Krzyża rounds their bowmen. |
 |
| The flank guard command has tightened their bow strings, and score hit after hit down the line. |
The Poles took no new hits and rallied successfully twice and are now at 13 points towards their breakpoint of 30.
The Teutons have 18 points towards their breakpoint of 33.
Turn 5:
The clock is winding down, and it is clear there is not going to be army break here. We are fighting for ego and honor now. (probably in that order)
 |
| There is a lot going on here. Knowing this is the last turn, Polish foot fearlessly ignore their flanks and push forward, scoring a missile hit. A Wing Hussar scores a hit on a Turcopole. The far right wing of Teutonic Knights has closed to charge reach. Jozef Kosteki takes his Winged Hussars to the banner of the nameless Teutonic general and with a 6-1 roll of the dice are slay their leader and destroy his bodyguard on impact. |
 |
| In front of Vytautas banner, a Teuton Knight is flanked and destroyed by the Knights Żółty i Zielony. The Knights Order Krzyża turn 180 and strike a Crossbowmen in the rear, but luck failed them and the Crossbowmen hold. |
 |
| Slowed by terrain, the action on the Polish right grinds to a halt. But missiles continue to fly. |
 |
| Their impetuosity catches up with them, as two Winged Hussars are flank charged. One is crushed, the other barely holds it's ground. |
 |
| The Teutons begin to reorganize their lines, taking advantage of their numbers. |
 |
| More charges and evades. |
 |
| A Polish Firearm Light Foot charges, and Turcopoles evade behind the line of Polish foot. |
 |
| Being impetuous, Vytautas and a couple of Hussars charge after a Teutonic Medium Cavalry. |
 |
| The Knights Zielony I Czerwony charge, and roll even. The Knights Order Krzyża destroy their opposing Crossbowmen. |
 |
| In a last volley of arrows, a Knight is destroyed by the Tartars. |
|
Time was called and the points added up. The Poles have 13 points towards their breakpoint of 30.
The Teutons have 26 points towards their breakpoint of 33. A winning draw for the Poles.
So what went wrong here. I know, we won, but it was not a convincing win, and there are problems with the plan. First, the plan is to have a strong punch, supported by the other commands. This means, mathematically, this puts total victory out of reach. Taking this concept to it's logical absurdity, this would mean that the 5 units of Winged Hussars each would have to kill just over 3 enemy units each. They are good, but not that good. If we assume the other 3 commands get half the kills, in this case 16 points, that still requires each Hussar to kill 1.6 enemy units. Possible, but unlikely. They can do it if they catch the enemy. But their slower speed, unmaneuverable nature, and requirement to chase any rabbit in their path makes this unattainable in the time limit allowed.
In the above battle, the strike command (5 knights, 2 light cavalry) killed 5 enemy units for 10 points of the 26. Losing 10 points in the process. The Joint command (2 knights, 2 light cavalry, and 1 light foot) also killed 10 points, while losing 5.
So the plan is untenable and that also means this army organization is destined to, at best, get a winning draw.
With more time, what could have happened. On the Polish far left, confusion reigns. The Polish Infantry was broken up into many groups, and with only an ordinary general to command them, they were going to be limited effectiveness. But being spear and crossbow, they can influence the battle field a long ways off, and had shot two knights to disorder already. On the Teutonic side, their forces were even more fragmented, and had no general to command them. So it is likely the infantry would continue to run down the knights, damaging them about every other turn with crossbow.
In the center, the Poles were totally fragmented and mostly surrounded. 3 of the 4 remaining Hussars were disordered, and all their supporting units were destroyed. But they have a strategist general and may be able to pull a reorg. But most likely what would happen is 2 more Hussars would be overwhelmed and destroyed, possibly taking another enemy crossbow with them, the other two will be chasing skirmishing cavalry.
As we move to the right, there is now opportunities there. Two knights in the field, each with two hits against 4 light cavalry. The lights hit on a -1 (-3 terrain, +1 Javelin, +1 overlap) verses the knights -2 (-3 terrain, +2 vs mounted, -1 disordered + armor) And any hit kills a knight. The Mounted crossbowmen have recovered their cohesion and have 2-1 odds against the other group of knights, whose supporting bowmen are out of range at the moment. There is an excellent chance for scoring 3 more points immediately, and totally wrapping up the flank in about 3 turns.
I see a score of 15-30 next turn, possibly 15-31 the next and possibly a win on the third turn after. Either way, this tactic is way too slow for this game.